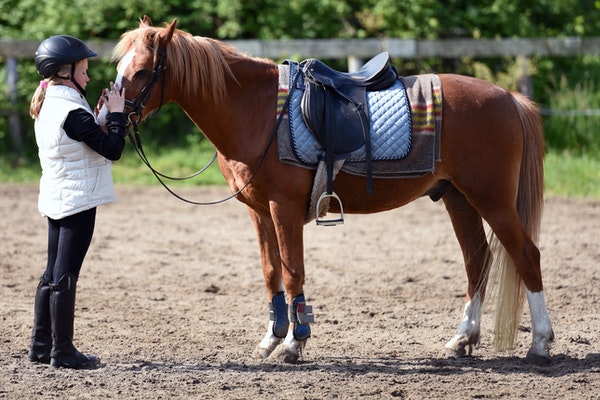
15 Horseback Riding Exercises You Can Do at the Walk
There are many reasons why we may need to ride our horses at the walk – but that doesn’t mean it has to be boring!
In this post I’ll share my best exercises you can do at the walk.
For more riding posts, check out:
- 4 Exercises to Improve Your Balance in the Saddle
- Exercises to Improve Your Hands
- How to Use Your Hands Effectively as Aids
Reasons We May Need to Walk
Every horseback rider had to learn how to ride at the walk.
If you’re new to riding, or a teacher with a beginning student, having a repertoire of exercises you can do at walk is essential.
These exercises can help you develop your muscles, balance, position and feel and prepare you for the trot.
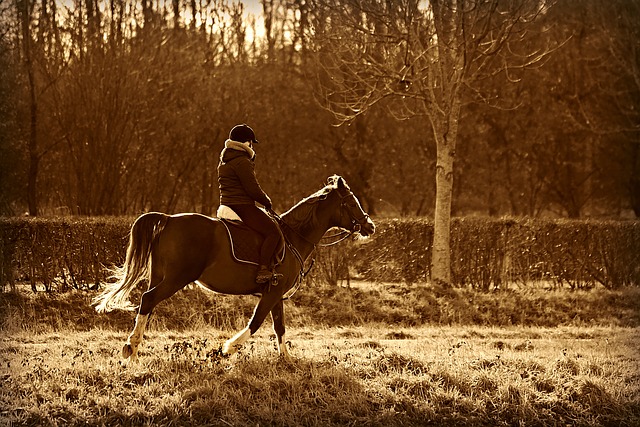
Even if the rider is more developed, we may need to walk our horses for the horse’s sake.
Whether they’re recovering from an injury, or need to put in long, low miles for their fitness and mental health, a good walk is a panacea for many ailments.
But long walks don’t need to be boring!
Fundamentals of Teaching Lessons
In my undergraduate Equine Studies program, one of our classes was on giving riding lessons.
Two of the biggest takeaways I always keep in mind when planning my lessons is to start from the bottom up – lower leg, knee, hip, abs, shoulders.
And to only focus on three exercises per lesson.
Trying to do all of these exercises in one lesson would be difficult and confusing, and only give you minimal progress on lots of areas, instead of deep progress in only a few.
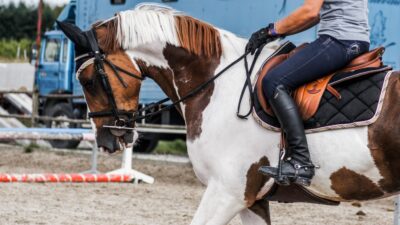
Horseback Riding Exercises At The Walk
1. Two-Point
Two-point position is your jumping position.
To perform, you’ll lean up out of the saddle and rest your hands on your horse’s neck almost halfway up.
Keep your elbows, hips and knees soft to absorb the movement of the horse, and keep your seat only inches above the saddle.
This position will work your lower back, quads and hamstrings as well as develop your balance.
Your center of gravity (COG) is just under your belly button (more or less).
Try to line up your COG with your horse’s COG.
2. Posting at the Walk
The walk is a four-beat gait.
Eat foot moves independently and creates a separate beat.
1-2-3-4, 1-2-3-4.
Posting at the walk is a great exercise to get our students used to counting the rhythm of the horse’s legs and practice the motion of posting the trot at a lower speed.
To practice this, have your student count out-loud the beats of the horse’s walk.
Ask them to stand on beats 1 and 3.
Once they’ve got the rhythm down, ask them to stand for beats 2 and 4.
Encourage them to raise only an inch or two out of the saddle and not plop back down roughly on the horse’s back.
3. Ankle Circles
Have your students kick their feet out of the stirrups and do slow ankle circles, first one way, and then the other.
This will help them loosen up their ankles to be able to get them further down as well as help them to begin thinking about what their ankles are doing.
4. Lose stirrups and get them back
While you’re student has their feet out of the stirrups, encourage them to “lose” and find their stirrups again several times.
This is an essential skill to learn in case your horse spooks, or your rider loses their balance over a jump, for example, to be able to find your stirrups again without the use of your hands.
Practice this skill enough times that it becomes muscle memory.
5. Standing in the stirrups
One of the best exercises, in my opinion, is learning how to stand in the stirrups.
There is nothing better for helping your student find their center of gravity (COG) than to ask them to stand in the stirrups.
If their leg position is too far forward, they will naturally fall backwards.
If their leg position is too far backward, or too stiff, they’ll fall forwards.
At the walk (and trot and canter) standing while the horse’s body moves, helps your student learn how to “give” with their joints without losing their balance and COG.
In addition to identifying your COG, standing helps your student build their groin muscle.
6. Scissors
With their legs out of the stirrups, have you student swing their left leg forward, while they swing their right leg back. Have them switch legs to the rhythm of the walk.
Encourage them to do this action while keeping even pressure on their seat bones.
This exercise helps them to isolate the individual movements of each leg and begins the practice of each leg moving independently.
Remember that we will eventually press in at the girth with the inside leg and perhaps well behind the girth with our outside leg when asking for a tight circle.
This exercise is the beginning to moving our legs independently, as well as working the core.
7. Pedal the walk
“Pedaling the walk” is where we alternate putting pressure on the horse’s side in rhythm with the walk, to encourage forward movement.
When the horse walks, we can feel his belly swing side to side.
When his belly swings to the right, we can encourage a lengthening of his stride by pressing into the left side of our horse with our ankle/heel.
When the belly swings to the left, we reverse it.
This ends up feeling a bit like we’re pedaling a bike: left-right-left-right.
While this is helpful for the horse, it also helps the riders feel the rhythm of the horse, as well as use their legs independently like in the exercise above.
Even better – kill two birds with one stone and have your student practice this exercise on a horse that needs to practice increased impulsion at the walk.
8. Bend knee and grab the ankle
On the lunge line, or on a very safe horse, have your student kick their feet out of the stirrups and bend their knee, one leg at a time, and grab the ankle with their hand.
So, for example, on the lunge-line, your student will kick their foot out of both stirrups, bend their left leg back behind them, and grab their left ankle with their left hand.
Practice on both sides.
This again, helps your rider to separate individual parts of their leg, as well as maintain a balanced seat, independent of what they’re legs are doing.
9. Touch pole
While your student keeps their legs glued against the side of the horse, encourage them to reach for their horse’s pole with their left hand for a few stride, and then their right.
Again, we’re working on training them how to keep their legs glued to the horse’s side, their COG over their horse’s COG, and maintaining an independent upper body.
10. Touch tail
Just like the above exercise, touch pole, reaching for the horse’s tail, one hand at a time, teaches our students to keep their legs in the appropriate position – if their leg begins to swing forward in response to their upper body leaning, we can correct it.
Maybe see exercise 13 and combine with this one.
The goal is for them to keep their legs in the appropriate position while reaching with their upper body, on both sides, towards the back.
11. Airplane arms to the side, twist to each side
This exercise is very simple, but can rattle an insecure rider.
Ask your student to put their arms out to the side, up to their shoulder level.
Just this exercise alone, while trying to keep their arms as still as possible, will help them isolate their upper body from their lower.
If you wanted to take it to another level, ask them to carry glasses of water in each hand without spilling.
Once they can hold their arms out to the sides and keep them relatively still – try having them hold a cup full of water without spilling, or their cell phone on the backs of their hand – have them then twist at the torso and bring the outside arm towards the horse’s head and the inside arm towards the tail.
To do this they’ll have to rotate their upper torso completely to the side.
Again, this encourages an independent upper body with a following, giving lower body.
12. Jockey legs
With their feet out of the stirrups, have your rider lift their knees up and place their calves in front of the saddle.
Their legs will be bent up towards their stomach like a jockey.
Riding a few steps like this helps your rider find their sit bones and practice balancing from side-to-side.
13. Dollar bill under knee/thigh/calf
If your rider has a hard time wrapping their legs around their horse’s side, this is a fun challenge!
Place a dollar bill (or $5 or $20, or for this generation, their cell phone) under their knee, just above it or just below it.
If it falls, you get to keep the money. If they can make it so many laps without it falling, they get to keep it!
14. Lift leg away sideways
This exercise is the hardest one for me.
Practice lifting one leg at a time up sideways and away from the saddle, with the leg straight.
This exercise really works the hip flexors, stretches the groin (great for after exercise 13) and helps your rider get a deeper seat and really wrap their leg around their horse.
15. Touch same side toe, touch opposite side toe
At the walk, with their feet in the stirrups, have your rider touch their left foot with their left hand and hold that position for a few strides.
Make sure that their lower leg doesn’t swing backwards when they lean forward.
Repeat with the opposite leg.
Next, have them touch their left toe with their right hand for a few strides, then their right toe with their left hand.
This exercise will help build the groin, reinforce keeping their lower leg in the correct position and will encourage a giving hip and waste.
For more riding exercises for you or your students, I love these books:
See??
The walk doesn’t have to be boring anymore!
These exercises will not only keep your student (or yourself!) entertained, but will help them develop the correct muscles, their seat, and the give and feel they’ll need in the faster gaits too!